Hello cupcakes!
First of all I want to tell you that from now on I'll put watermarks on every picture I post. I don't mind if you're borrowing my pictures for inspiration, but stealing them and claiming they are your own is not acceptable. If you're going to post my pictures on sites like tumblr please post a link to my blog there too!
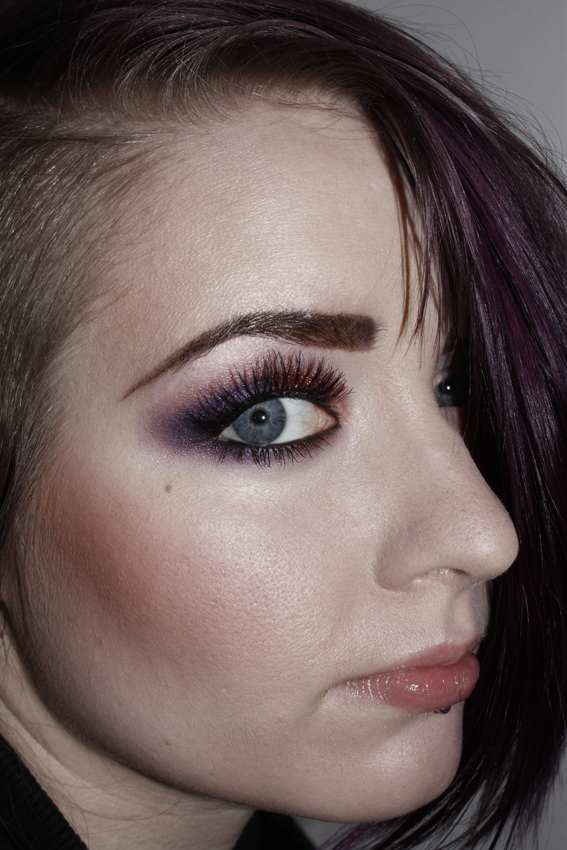
I usually don't like to do lip looks since I frankly don't have the perfect lips, but since (as you probably know by now) I can't make any eye looks this week I decided to do one anyway. :)
So, this is supposed to be a guide to get perfect lipstick and I will share all my tips on how to achieve this.
This time of the year I know there are a lot of people having trouble with really dry lips. I belong to this group of people and I have tried almost everything to sort out this problem.
So what do you do if your lips are really, really dry and flaky and none of the miracle cures available at the market helps?
First thing, you have to make sure to drink a lot of water! This is the quickest and most foolproof way to prevent the lips from drying out. I can't tell you the exact amount of water you'd have to drink per day, because that's really individual, but you should make sure to drink enough.
Next thing, use a good lip balm, preferably one without perfume. Perfume is an agent in all sorts of skin care products that usually dries out the skin.
A good lip balm doesn't necessarily have to be an expensive one!
You should apply you lip balm often during the day and before going to bed every night.
Here comes the lipstick tutorial :)
 Step 1
So, start off by scrubbing your lips, either with a lip scrub or a soft toothbrush.
Step 2
Line your lips with a lip liner pencil. Make sure it is really sharpened. Follow your natural lip line.
The liner I've used is Revlon ColorStay Lip Liner "Wine".
To get a sharp and crisp lip line you can go over the edges with some concealer and a small brush.
Step 3
Fill in your entire lips with the lip liner. This will act as a base and help the color stay longer!
Step 4
Fill in your lips with lipstick using a lip brush. I've used Clinique Long Last Lipstick "All heart". Why couldn't you as well apply the lipstick directly from the tube? The lip brush will help getting a more even result and reduce the risk of getting lipstick on your teeth.
Another tip to prevent getting lipstick on your teeth is to take your index finger (clean it first please!) and place it in your mouth. Form an O with your lips around your finger and carefully pull out the finger from your mouth. Looks really funny and a more than a bit dirty but, trust me, it really does the trick! ;)
Step 5
To the center of your lip, apply some lipgloss or, if you want a really special lip look, a pigment in a color different from the color of your lipstick! Here
I've used a golden pigment (Mac "Old gold") because it looks great with a red lipstick.
A very common question is also: "What lipstick color suits me?"
This is not an easy question to answer since I don't know you and since there are no rules. Choose a lipstick color that you're comfortable with.
A more playful lip look:
Here I've used a purple lipstick and "Platinum" pigment from Mac. :)
Hope you've liked this tutorial and found some useful tips!
Don't forget to comment and subscribe! That'd do my day! :)